Tuesday, May 30, 2017
DIY Pyramid Bag
DIY Pyramid Bag


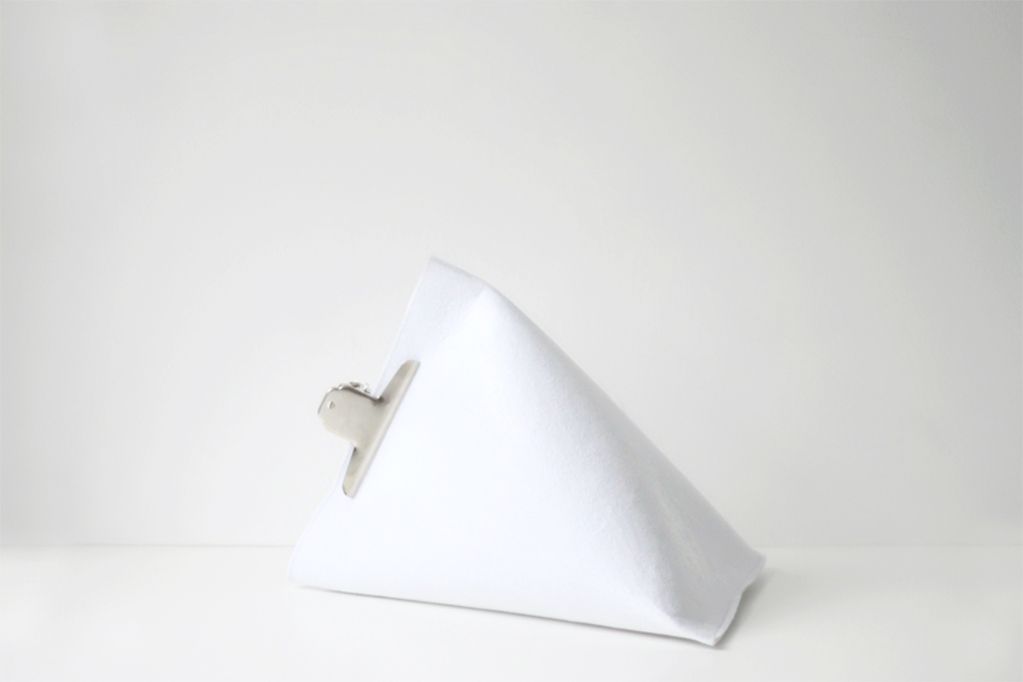
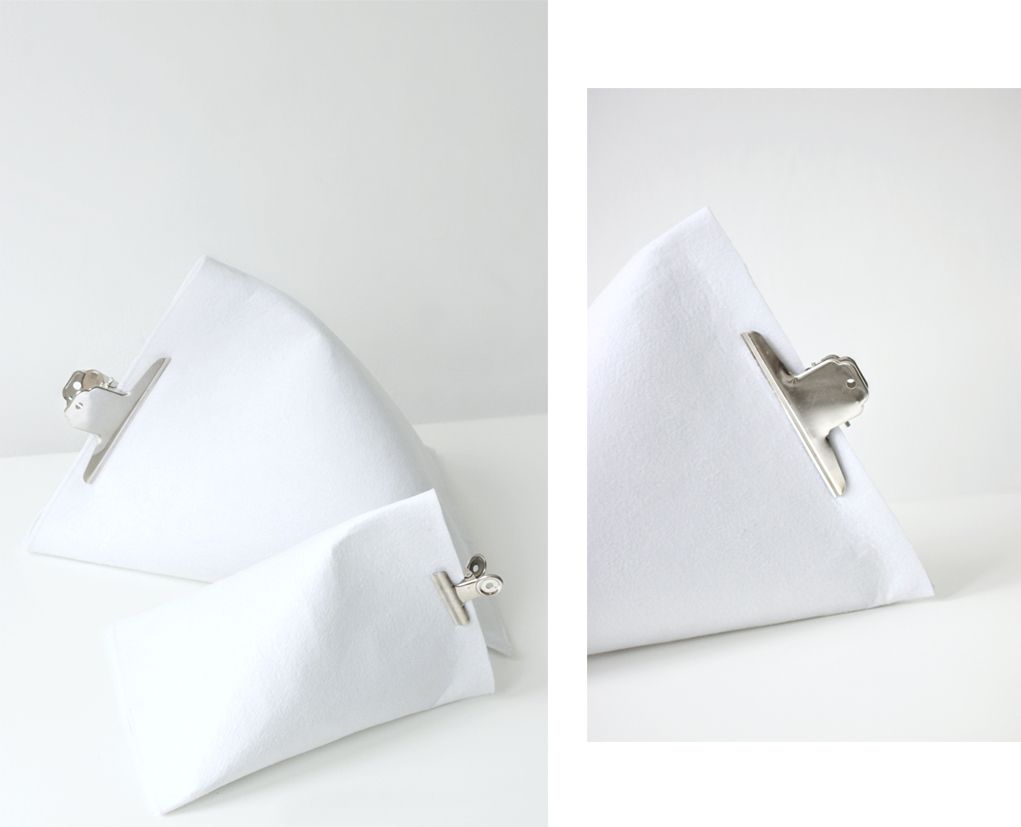
Lois saw it right away: you are making a candy wrapping was what she said when it was only half done. There is no better compliment than a six year old immediately recognizing your references. I chose white felt, a bit stiffer and a lot cozier than the usual neoprene, which would also work wonderfully for these multi purpose pyramid-container-bags. For now I will be using mine like this to store my socks and tights, might also use one of them as an actual bag now and then.
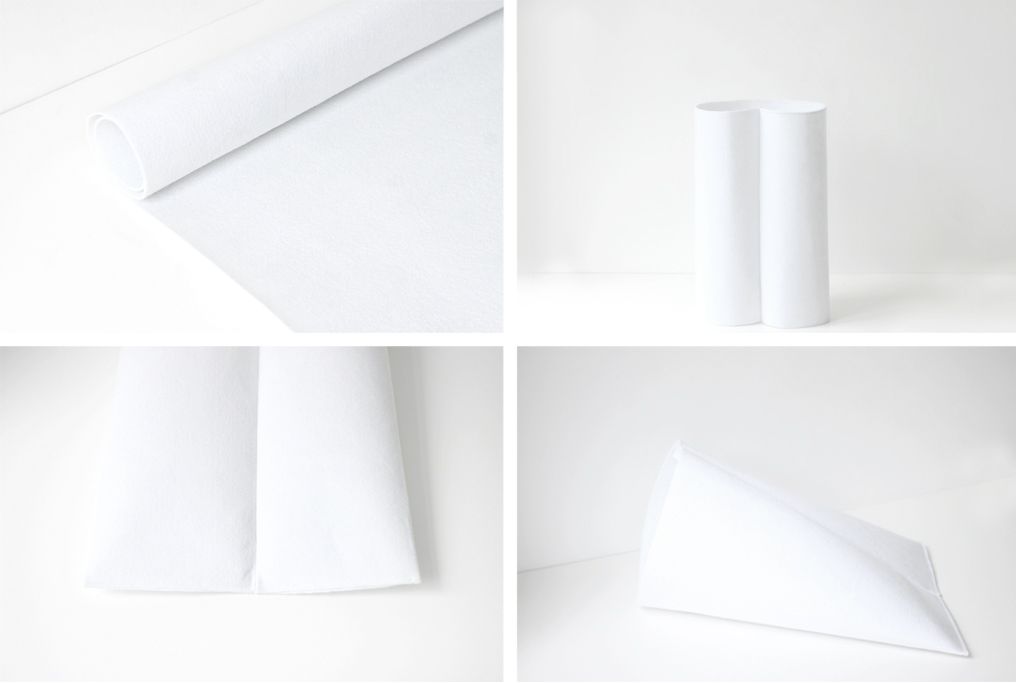
Heres are the beyond easy instructions, steps correspond with the four images collaged together.
/01 Cut a rectangle out of your felt with one side that is only slightly longer than the other. The dimensions of my large pyramid are 35cm x 42cm.
/02 Sew the long sides to each other creating a tube as shown on picture two.
/03 Close the tube on the bottom with the seam in the middle as shown on picture three.
/04 Finally, fold the opening in the opposite way as the sewn part and close by adding the clip.
need:
felt or neoprene
sweing machine / needle&thread
clip
15 minutes
felt or neoprene
sweing machine / needle&thread
clip
15 minutes
Available link for download
Subscribe to:
Post Comments (Atom)
No comments:
Post a Comment
Note: Only a member of this blog may post a comment.